Hardwood Flooring Installation Guide
Can I install my own floor?
We recommend employing a professional to install and finish our flooring. However, many of our customers are do-it-yourselfers who successfully install a Birch Creek Millwork solid hardwood floor themselves. We take extreme care in our milling to make our floors as easy to install as possible. If you’re handy, you can get through it.
Warnings and Preparation:
The most important prerequisites to successfully installing your hardwood floor are assessing, modifying, and maintaining your site conditions (see acclimation, below.) Do not install solid wood flooring where moisture penetration is possible. If installing outdoors, do not install in any areas below the natural grade of the property or where rain can intrude.
- Please inspect your flooring promptly after arrival to ensure it is the species and texture ordered, the quantity is correct, and the moisture content is acceptable. Any irregularities should be reported immediately. Claims made after fifteen days (from the time of delivery) will not be accepted.
- Birch Creek Millwork cannot assume responsibility for issues that occur after the flooring has left our control, including (but not limited to) improper site conditions or installation methods.
- Installation of a floor indicates its acceptance by the customer, and waives any right to subsequent claims.
Acclimation:
Do not install solid wide plank wood flooring until after all moisture producing trades (masonry, drywall, plaster, painting, etc.) are complete and their work is thoroughly dry.
Do not install flooring until the roof, windows and exterior doors are fully installed and the heating or air conditioning (depending on the season) have been operating for a minimum of 2 weeks. Humidity and temperature on site should be as close to living conditions as possible. Following these precautions will acclimate the floor to the true living conditions of the home, reducing movement after installation.
Interior Trim and Cabinetry:
Unfinished solid wood flooring is best installed before interior trim or cabinetry is installed. This allows the trim to be fit tight and cabinetry to be scribed to the floor resulting in a neater overall job. We recommend sanding and finishing the floor after cabinetry and trim have been completed.
Sub-Floor:
OSB or Plywood sub-flooring is recommended. Particle Board sub-flooring is unacceptable as it will not achieve proper nail holding.
The wood flooring and the sub-floor must be tested for moisture content before installation. The moisture content of the flooring and sub-floor should not differ by more than 2-3%. If the deviation is greater, acclimation is essential and installation should be postponed. Installation may proceed once both flooring and sub-floor have reached an acceptable moisture content level.
Fifteen pound felt or red rosin paper may be used as an installation aid; however neither can be considered an effective vapor barrier. The felt or rosin paper should overlap 2-4 inches to help restrict any moisture penetration.
Planning for Multiple Board Widths:
When installing a floor with multiple widths, assess the relative quantity of each before beginning the installation. Use rows of plentiful widths more frequently and less plentiful widths more sparingly, ensuring that no width runs out before the floor is completed.
Installation:
- Strike a line parallel to (usually) the longest outside wall, the distance away from that wall equal to the width of the chosen starter row (including the tongue) plus 1/2″.
- Lay the first row of flooring with the edge of the tongue aligned with the marked line.
- Face nail the the first row of flooring 1″ in from the back, groove-side edge. (Otherwise, avoid face nailing wherever possible).
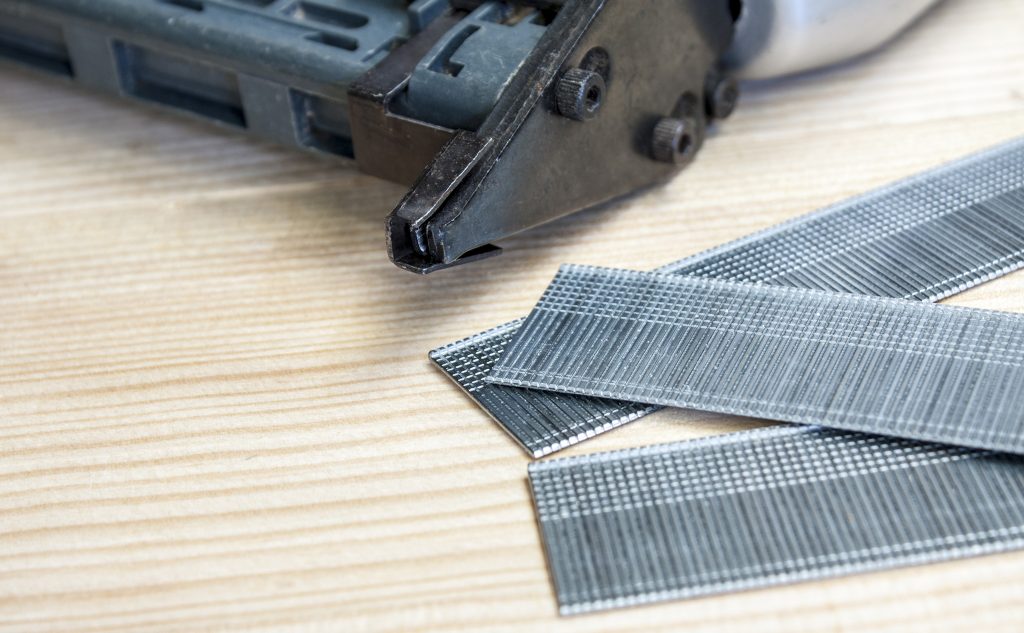
- Blind nail the tongue side of the first row, using an appropriate length cleat (minimum 1½”) every 6″-8″ and 2″-3″ from every end joint.
- Tap the next rows’ groove over the tongue (using a block on pine and a rubber mallet on hardwoods) and again, blind nail through the tongue. Continue likewise across the room until you approach the opposite wall. Begin face nailing when you are no longer able to blind-nail the tongue.
- If necessary, rip the final boards to leave a ½” gap adjacent to the wall.
Finishing:
After all trim and cabinetry are installed, and all other “messy” trades complete, the floor can be sanded and finished. With our flooring, we recommend a light screening with a 180 or 220 grit screen. Following the screening process, thoroughly vacuum floor to remove dust. After vacuuming, apply a finish of your choice. (Three coats of finish are recommended.)
Reclaimed flooring will have special finish needs depending on the species and material spec sheets. (Trestlewood is particularly incompatible with water based finishes.)
Radiant In-floor Heating:
Plank flooring can be successfully installed over radiant in-floor heating by insuring proper moisture content levels and job site preparations. We recommend laying OSB or plywood (5/8″ or ¾ thick) over a sleeper or gypcrete heating system to assist the equal distribution of heat, ensuring that the flooring runs at right angles over the sleepers.
Before installation, acclimate the flooring by laying it across the floor as it would be installed while the floor heating system is operational. In-floor heating systems should be functional and running for a minimum of three weeks prior to installation, even during summer months.
When installing, be aware of all heat tubing locations and avoid any nail punctures to the system. After installation and as winter approaches, the in-floor heating system should be activated in increments over a period of two to three weeks for a gradual and even heating. It should be turned off in the spring by the same process.
Other Considerations:
Your local wood flooring professional my have specific knowledge of local conditions, finishes, and installation methods that differs from these guidelines, and should be given due consideration.
We also recommend considering any documentation of proper installation techniques published by The National Wood Flooring Association (NWFA).